
Preview
基本信息产品详情证书
基本信息
| 型号编号 | 003 |
| 形状 | 矩形 |
| 厚度 | 7毫米 |
| 宽度 | 25厘米 |
| 表面处理 | 辊涂 |
| 功能 | 防火板天花板、隔音天花板、普通天花板、集成天花板、隔热天花板、防潮天花板、防霉天花板、防烟天花板、防水天花板 |
| 特性 | 艺术天花板、蜂窝天花板、一体化天花板 |
| 颜色 | 白色 |
| 认证 | RoHS, ISO9001:2008, Soncap |
| 应用程序 | 办公室、酒店、家庭、无尘室、公共场所 |
| 装运港 | 上海至宁波 |
| 聚氯乙烯含量 | 百分之三十、百分之三十五、百分之四十、百分之四十五、百分之五十、百分之五十五、百分之六十、百分之六十五、百分之七十 |
| 每平方米重量 | 2.3千克/平方米 2.5千克/平方米 2.8千克/平方米 |
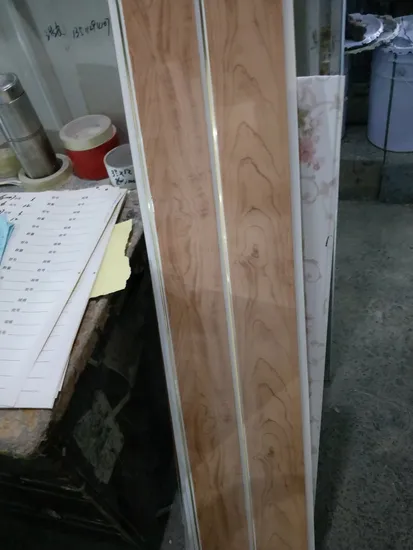
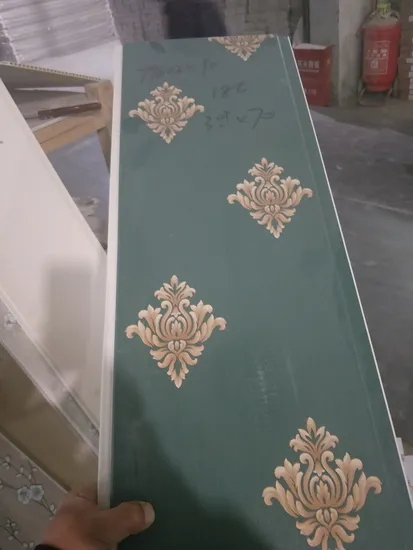
| 表面设计 | 印墨色、热薄膜涂覆、复合薄膜 |
| 40hq Tity 柜装量已载货 | 630包,每包10个 |
| 材料 | 聚氯乙烯树脂、碳酸钙 |
| 证书 | ISO;Soncap;SGS |
| 大小 | 25厘米x8毫米 25厘米x6毫米 30厘米x6毫米 |
| 耐火等级 | A组 B组 |
| 印刷项目 | 正常光泽,高光泽 |
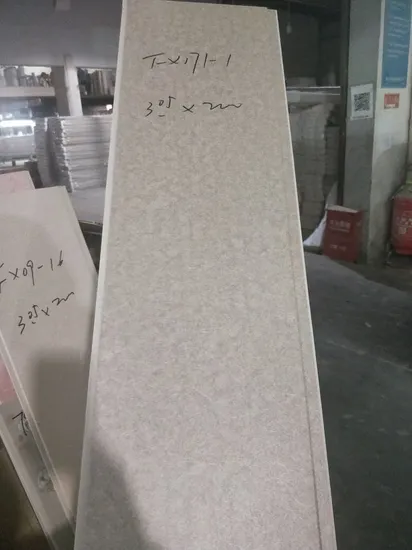
| 长度 | 2.8米 3米 3.05米 3.66米 3.95米 5.95米 6米 OEM |
| 其他模具 | 原始设备制造商 |
| 名字 | PVC天花板 |
| 装运 | 海船 |
| 交通运输包装 | 塑料薄膜、纸盒 |
| 规格 | 25厘米x 7毫米x 5.95米 |
| 商标 | 帕达 |
| 起源 | 中国 |
| 商品编码 | 39259000 |
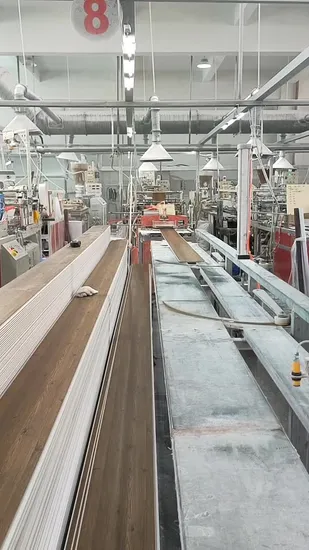
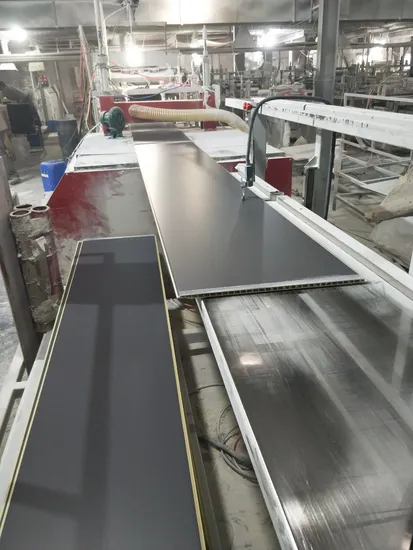
| 生产能力 | 每周15万平方米 |
产品详情
Product Description
Preview
PVC
PANEL
CEILING
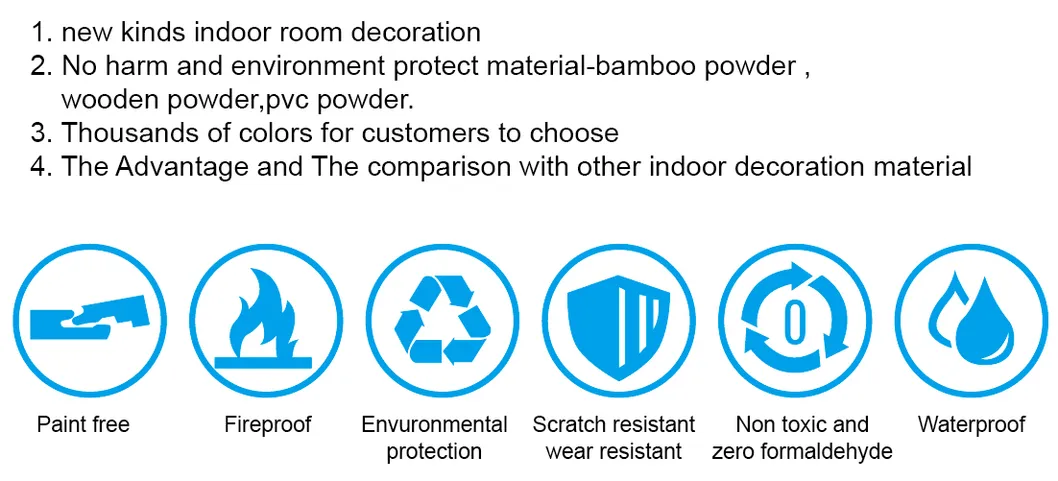
100% Waterproof
Class 1 Fire Rated
Tongue & Groove Design
Hyginic & Easy To Clean
Quick & Simple Installation
PANEL
CEILING
100% Waterproof
Class 1 Fire Rated
Tongue & Groove Design
Hyginic & Easy To Clean
Quick & Simple Installation
Preview
Preview
FITTING GUIDE
MEASURING YOUR WALLS
Once you have decided where you are fitting your panels you need measure the width and the height of each wall you are fitting onto.Our panels can be laid vertically or horizontally however this will depend on your room dimensions whether this is possible or not due to the length of the panels.Measure your wall height and make sure it is shorter than the length/height of the panel you wish to install; this will be the case for most of our panels as they are designs to run from floor to ceiling.Measure your wall width in cm so in the example above 260cm, then divide that by the width of each panel in cm for example 25cm which in the example above gives 10.4, so you would need 11 panels. Repeat the process for each wall, alternatively simply add up the width of all your walls and then divide by the panel width.PANEL STRUCTURE
Our PVC cladding panels are made from durable waterproof PVC material and have a corrugated structure which makes them strong, lightweight and helps with insulation.The panels are tongue and groove and slot together quickly and easily.CUTTING THE PANELS TO SIZE
Our PVC panels can be cut easily with basic hand tools such as a Stanley knife, hacksaw or even circular saw. If using a Stanley knife simply score across the width of the panel and then it should break off in a straight line.INSTALLATION ONTO WALLS & CEILINGS
Our panels can easily be installed onto plasterboard, existing tiles or wooden framework.For plasterboard and wooden framework screws or staples will be fine, but for tiles you will need to use solvent free adhesive.INSTALLING ONTO CEILINGS
The method above also applies to ceilings, if you are fitting spot lights, bear in mind the position of the studs and leave room for any wiring or fittings. You can use hold cutters for light fittings or wires.USING SCREWS OR STAPLES
To attach using screws you screw through the lip of the panel and when your next panels slots into place, it will cover the screws.You can screw straight onto plasterboard as well as a timber framework.USING ADHESIVE
You can also use solvent free adhesive to attach your panels to your wall, we only recommend using the adhesive if your panels are going onto plasterboard or other solid surface, if you are using a wooden framework then screws or staples would be recommended.You can either run the glue down the panel in an S shape (shown left), or just dot and dab (shown right).FITTING TRIMS
We provide a wide range of pvc acessory
suitable for all corners and edges.MOUNTING TO YOUR WALLS
Once your panels are installed you will likely need to mount things to your wall such as units, showers or other items. Due to the nature of the panels it is strongly recommended that the panels are not used to bear any load, you should screw through to the supporting wall so that the wall itself is supporting the weight and the items are just sitting flush against the panels.MAKING YOUR ROOM WATERPROOF
While the panels themselves are waterproof we do recommend a very small amount of clear silicone in the groove of each panel if they are to be used in a wet area such as a shower enclosure or wet room.GOOD BENDING QUALITYPackaging & Shipping:
Preview
证书
标题:测试报告

Preview


 嘉兴
嘉兴  已认证
已认证